External Authentication
OpenID Connect vs Keycloak
Greenlight v3 offers external authentication support through OpenID Connect. If you have an authentication server that supports this protocol, you can easily connect it to Greenlight v3 using environment variables. For more information, refer to the OpenID Connect Setup section.
If you do not have an authentication server, Keycloak is a recommended solution. It supports multiple authentication methods, including Google, Microsoft, SAML, and others. For a complete list of supported identity providers, see Keycloak Identity Providers.
Installing Keycloak
If you used the BigBlueButton Install Script without passing the -k option, you can simply re-run the install script using the same options as before, this time passing -k to install Keycloak on your server.
If you used the Greenlight Install Script without passing the -k option, you can simply re-run the install script using the same options as before, this time passing -k to install Keycloak on your server.
Configuring Keycloak
Once you've completed the Keycloak installation, you'll need to configure Keycloak to suit your needs. This guide will provide you with an example of how to connect to Google Authentication, but you can adapt these steps to suit your deployment.
IMPORTANT NOTE: This is a sample configuration meant to be used for testing. For a full production setup, please refer to Keycloak's documentation.
Start by accessing the administrator panel by https://<GREENLIGHT_HOSTNAME>/keycloak
Select Administration Console and sign in using the credentials that were printed during the Keycloak Installation process.
Start by creating a new realm for Greenlight by hovering over the Master realm on the top left corner, and clicking on Create Realm.
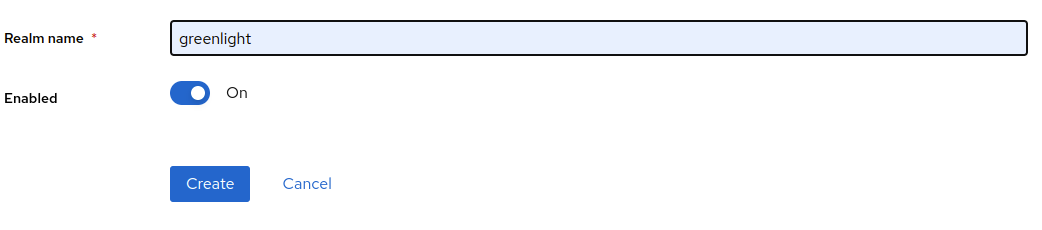
Set the name of the realm to greenlight and click create.
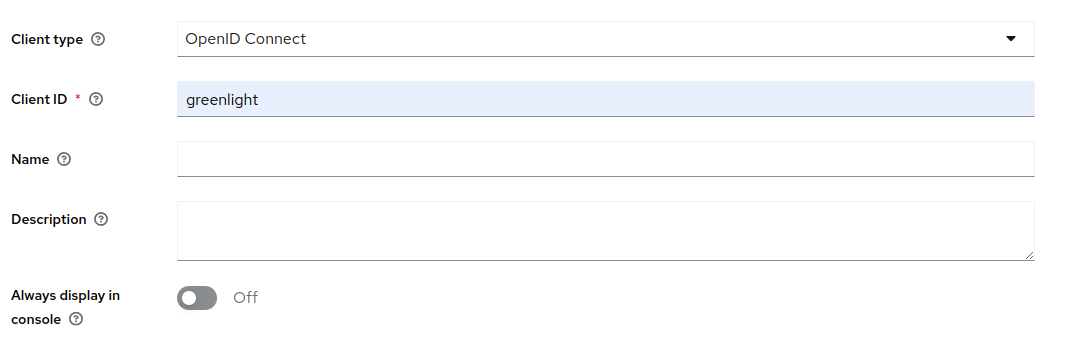
Next, create a new client by clicking the Clients tab on the left side and then clicking Create Client. Set the Client type to OpenID Connect and the Client ID to greenlight. Once you've confirmed the values are correct, click Next
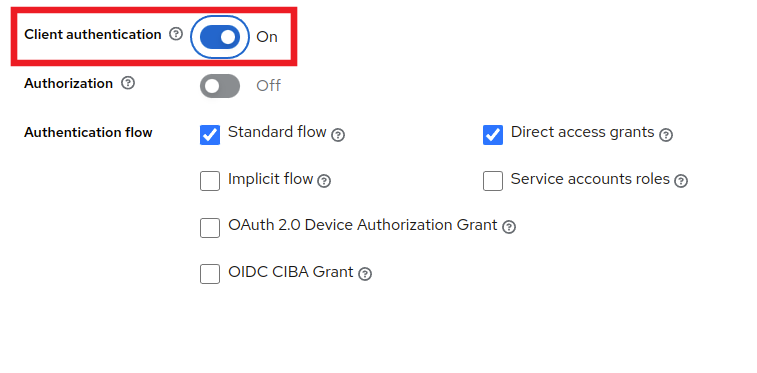
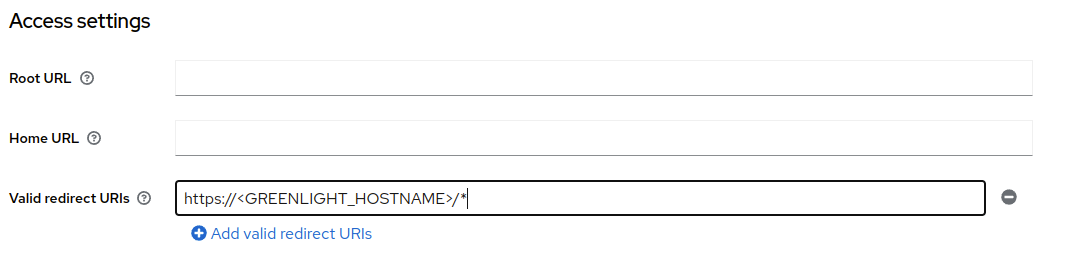
Set Client authentication to ON and and Valid Redirect URIs to https://<GREENLIGHT_URL>/*. Make sure to click Save once you have set the values.
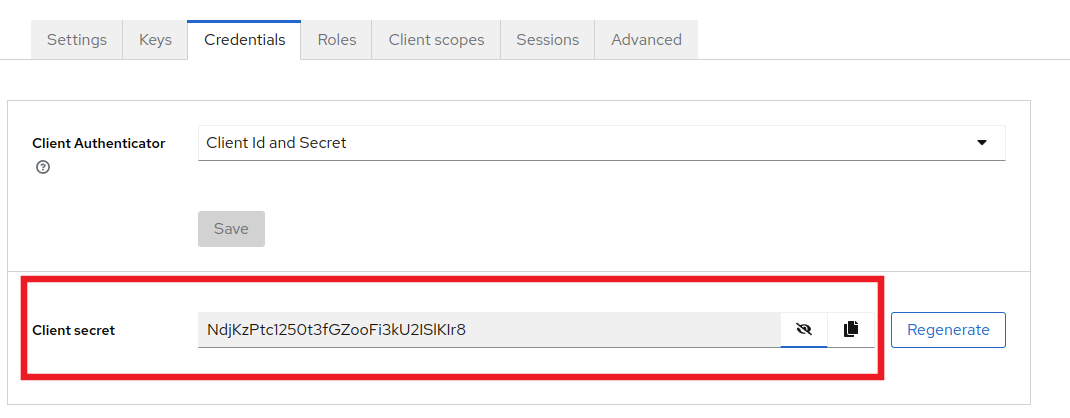
While staying in the Clients tab, click on the Credentials tab near the top of the page and store the Client secret variable on the side (this will be the OPENID_CONNECT_CLIENT_SECRET later in the .env).
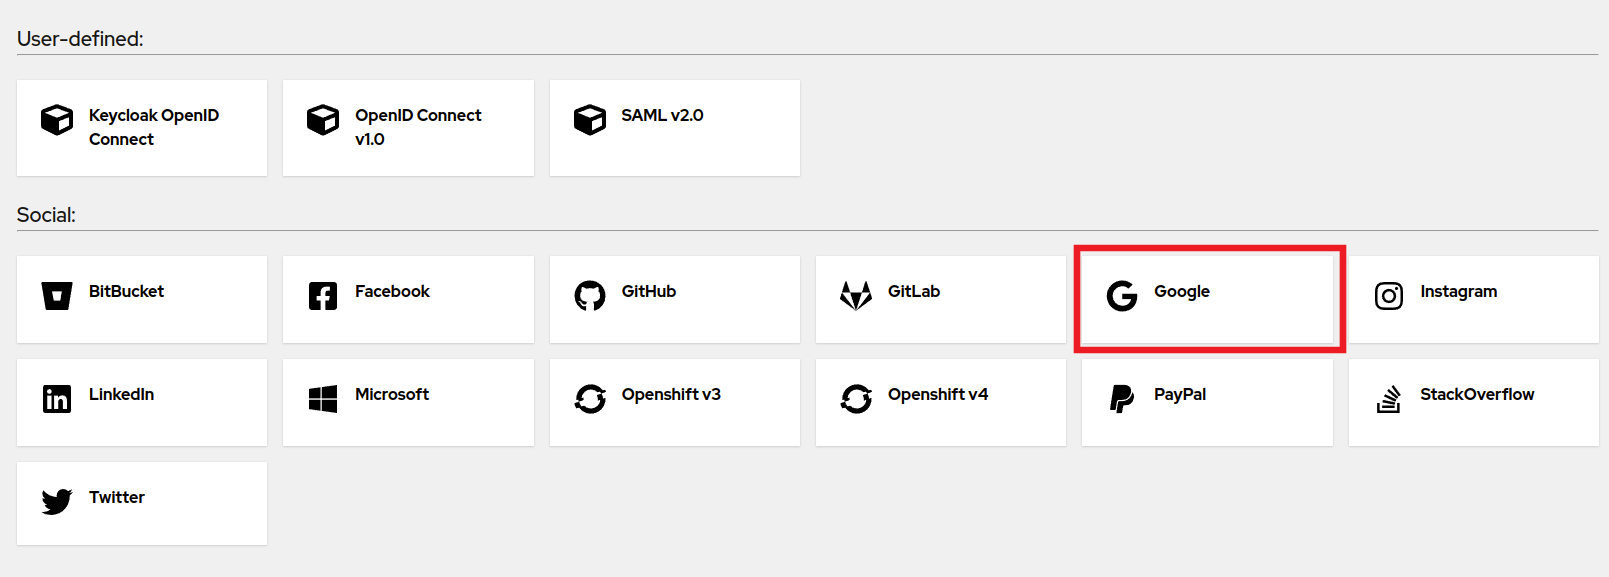
To add a Identity Provider, click on Identity Providers on the left hand side and choose the provider that you would like (we'll be going with Google for this installation).
For Google, follow this guide to obtain the credentials: Google OAuth Credentials.
Feel free to use different providers and refer to their documentations on how to create and obtain OpenID credentials.
Once you've obtained your Google credentials, fill in the Client ID and Client Secret fields and click Save.

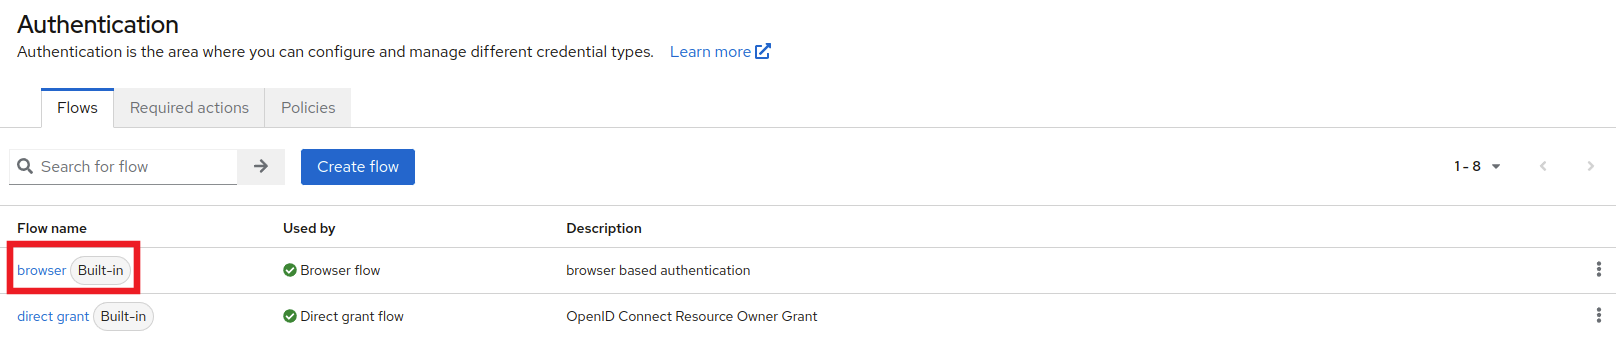
Next, we need to make Google our default authentication method to ensure a seamless login process for our users. Click on Authentication in the left side menu.
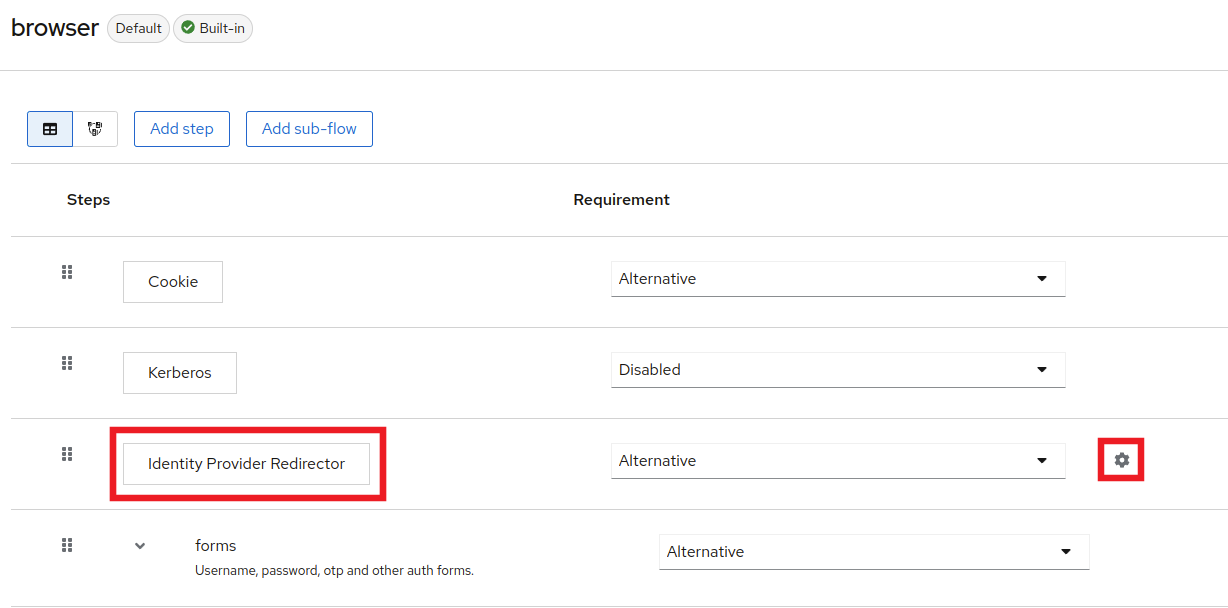
Click on browser and then find the Identity Provider Redirector row and click on the settings cog on the far right
 .
.
 .
.
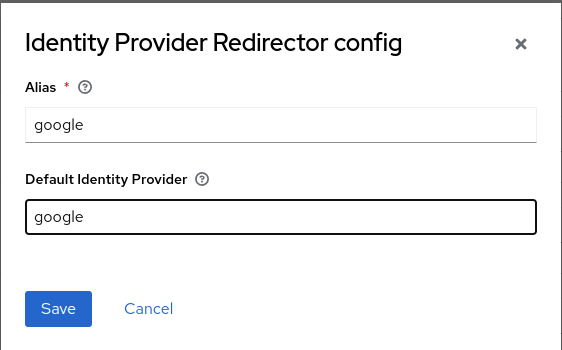
Set the Alias to Google and the Default Identity Provider to google (or whatever identity provider you chose). Once you're done, click Save
 .
.
Finally, we need to connect Greenlight to Keycloak using the OpenID Connect .env variables.
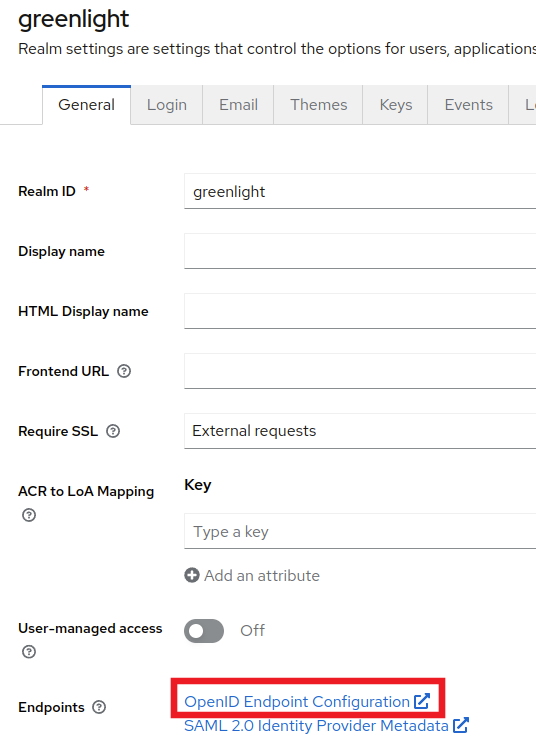
Go back to Realm Settings in the left side menu and click on OpenID Endpoint Configuration
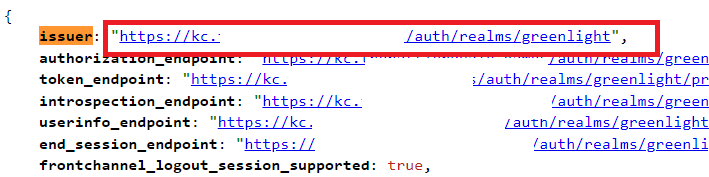
Copy the url that appears after issuer
Now edit your .env file and uncomment the following block (remove the # before each OPENID variable):
### EXTERNAL AUTHENTICATION METHODS
#
#OPENID_CONNECT_CLIENT_ID=
#OPENID_CONNECT_CLIENT_SECRET=
#OPENID_CONNECT_ISSUER=
#OPENID_CONNECT_REDIRECT=
Lastly, fill in the credentials as follows:
<YOUR_SECRET>is a placeholder for your OpenID client secret that you stored during the first few steps.<ISSUER_URL>is a placeholder for your Keycloak issuer realm URL (that you just copied).<YOUR_GREENLIGHT_DOMAIN>is a placeholder for your Greenlight hostname
Once you're done, it should look something like this:
### EXTERNAL AUTHENTICATION METHODS
#
OPENID_CONNECT_CLIENT_ID=greenlight
OPENID_CONNECT_CLIENT_SECRET=<YOUR_SECRET>
OPENID_CONNECT_ISSUER=<ISSUER_URL>
OPENID_CONNECT_REDIRECT=https://<YOUR_GREENLIGHT_DOMAIN>/
All that's left to do is restart Greenlight v3 and it should be connected to Keycloak
sudo docker-compose down && sudo docker-compose up -d
Avatar Support
Greenlight can retrieve user avatars through Keycloak, providing a unified and consistent profile image experience across services. Although this capability has so far only been verified with Google OAuth, it may also work with other OAuth providers configured within Keycloak.
First, click on Identity Providers on the left hand side and choose the provider that you configured.
![]()
Then, at the top, click on the Mappers tab

Next, click on Add mapper
![]()
Finally, Fill in the fields as shown in the image below and click Save.
![]()
Done - avatar images should now be passed down through Keycloak into Greenlight.